Danish Celebration Cake - Horn of Plenty - Marzipan tower - Kransekage
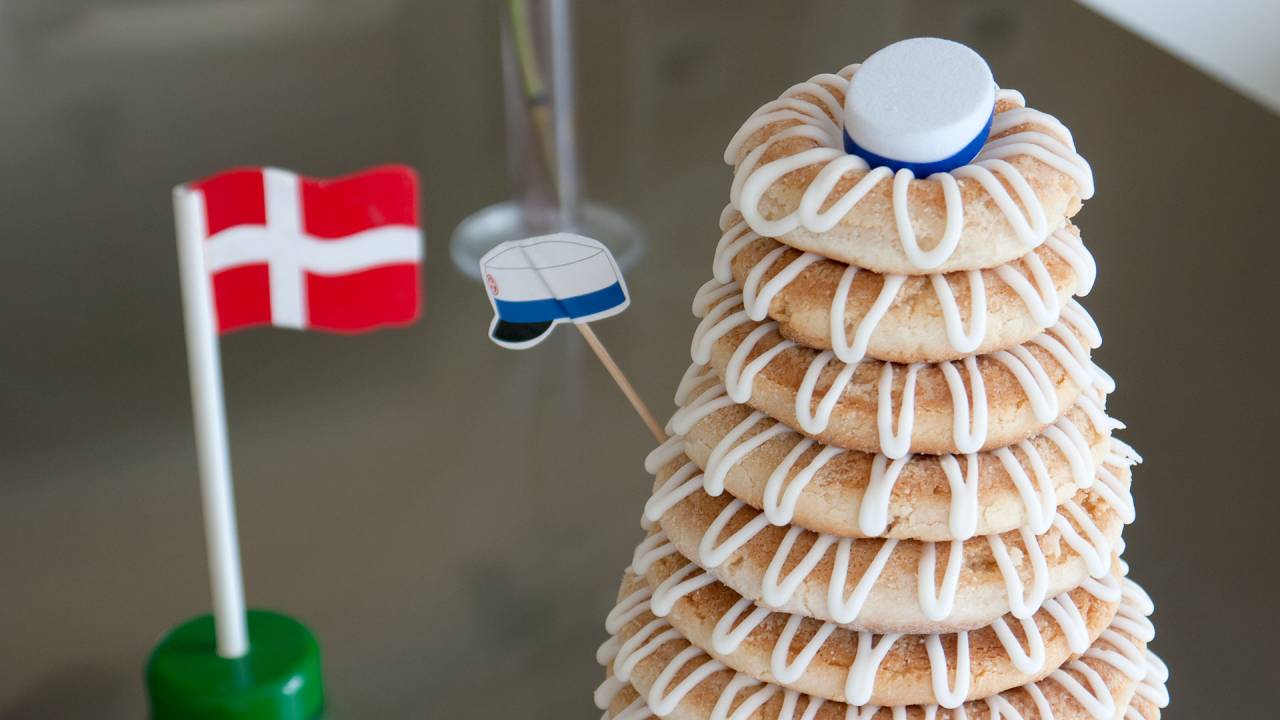
Ingredients
cake mass
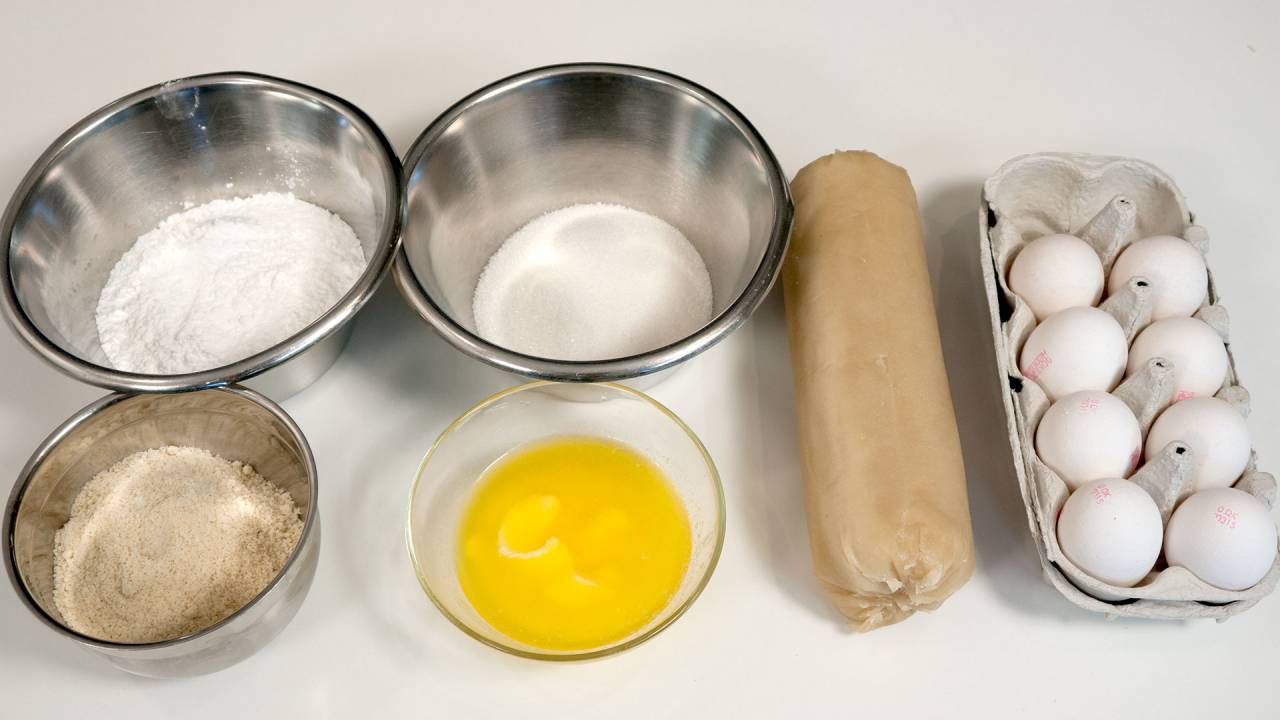
- 1000 g (35.3 oz) baking marzipan (Odense Kranse XX is the prefered brand) or homemade marzipan.
- 210 g (7.4 oz) sugar
- 210 g (7.4 oz) icing sugar
- 150 g (5.3 oz) egg white (about 4 whites)
for greasing the ring molds
- 50 g (2 oz) melted butter
- 100 g (3.5) bread crumbs (almond flour for gluten free version)
for rolling
- 100-200 g (3.5 oz - 7 oz) icing sugar
glazing
- 100 g (3.5 oz) powdered sugar
- egg white
Directions
When kneading with machine
Break the marzipan into pieces that your machine can handle and put those in one at a time.
Put all the ingredients into the mixing bowl.
Just mix until everything is evenly distributed. I will not become better with longer mixing times.
When kneading manually
Grate on a course grater or cut the marzipan in approximately ½ cm (1/4 inch) thick slices. Just hold the roll of marzipan over the bowl and then cut from it as if cutting a stick pointed.
Pour in the sugars. Mix gently with your hands to get the sugar evenly distributed.
Add the egg whites an knead well with your hands until the dough is homogenous.
Both
The dough is finished as soon as it is uniform and just a little sticky. Hold back a little egg white if the dough becomes too sticky. It should feel sticky to the fingers, but not get stuck.
Make the ring-molds ready
You don't want large pieces if bread crumbs sticking to the cake, so run them through a sieve to remove large pieces and chunks. Put them in a large wide bowl.
Brush the ring mold with some melted butter. Just a thin layer.
Sprinkle plenty of breadcrumbs/almond flour on the molds and turn them upside down so the superfluous crumbs get back in the bowl and are reused.
The molds should only be covered with a thin layer of crumbs.
Making the "rolls"
Divide the dough into 8 equal portions of 190 g (7 oz) each.
All portions must be rolled out in rolls that should be as straight as you can possibly make them, and that are exactly 80 cm (31.5 inches) long. Use a tape measure, ruler or the like.
Then all of them about 1½ cm (little more than ½ inch) thick, and all rolls must be of equal thickness. This is important.
You do not have to roll out all 8 pieces at once. You can easily do it along the way so there is more space on the countertop for the molds.
Sprinkle a thin layer of icing sugar on the table so that the mass does not get stuck.
Roll it by spreading your fingers as much as possible, and then roll from wrist to fingertips with as light a touch from all fingers as you possibly can.
If some parts of the roll become thicker than others you can just press a little harder there.
Remember. In case of failure, you can always knead it together and then roll out once more.
Shaping the rolls into circles
Place one end of the roll in the circle mold and turn the mold around like a record, while you gently fill up with more of the roll.
When you are all the way round, then cut the roll over with an angled cut (45°). It gives a nicer and more solid collection than a straight cut.
Press the ends over each other so they join well.
Finally, you can finish of by making all the joints neat and pretty, by getting water on your fingers and smoothing them as neede. So do not be worried if it did not succeed completely to begin with.
If you run out of roll in the middle of a ring, then just continue with a new roll. It does not matter if some of the rings are joined in two spots. Icing hides a multitude of sins:-S
Use a cutting board or a similar flat board to push the down the rings a little bit along the top. That will make them all the same height. It's will look nicer. And they will be more flat at the top. This makes it easier to stack them.
If you have little bit of dough left over in the end, then make it a ball to put on top.
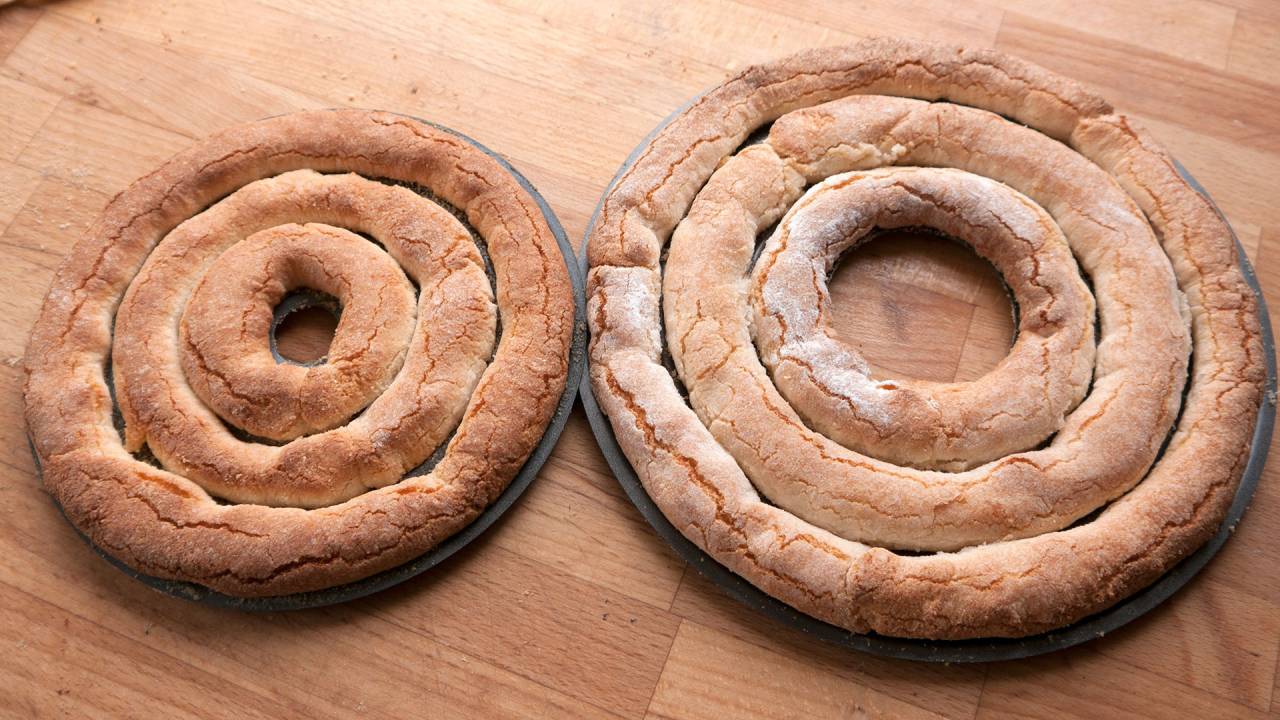
Bake at 200°C (390°F) top and bottom heat for approximately 15 minutes. (Do not use convection, it will burn!)
The rings should be well browned. Unless your oven heats very uniformly, it's a good idea to turn the baking pan after 10 minutes.
When they are done baking, theno loosen them carefully with a thin spatula. Put your hand on top with spread finger and try to gently turn them . If any of them breaks, don't panic. Just put them back together. They will "grow together" again as they cool. Small cracks can also be hidden later with little strategic icing.
When they have cooled of a little more, remove them from the molds by gently pushing them onto your table, a roasting pan or the like. Do NOT turn the molds upside down to get them out. It is the sure way to break them.
Brush off any loose breadcrumbs/almond flour with an unused dishwashing or baking brush.
Freezing
Celebration cake is best if it has to be frozen. So make it now and freeze until you need it. Up to 3 months freezing is no problem. Just wrap it in plastic so that no air can get in or out.
Use a piping bag with a small nozzle or make cornets of semi-circles of grease proof paper. Put the icing in those.
Cut a small hole in the tip. Rather too small than too large. You can always cut of more.
Decorate the cake with a wave pattern. This is hard to get right the first time, so it is a good idea to practice with icing a broom stick.
Notes
It is important to be accurate with the measurement of ingredients.
Otherwise, it's hard to get the rings of equal thickness and you run the risk that they will not bake evenly. And it looks untidy.
There are two ways to make the cake. The "pressed" and "baked in rings." The baked in rings, like this recipe, is definitely the best and the easiest way. However, it requires that you have the ring mold.. But they are worth the money.
The "pressed" cake using a different recipe that is a bit firmer. Which is what makes it possible to shape the rings with your fingers.
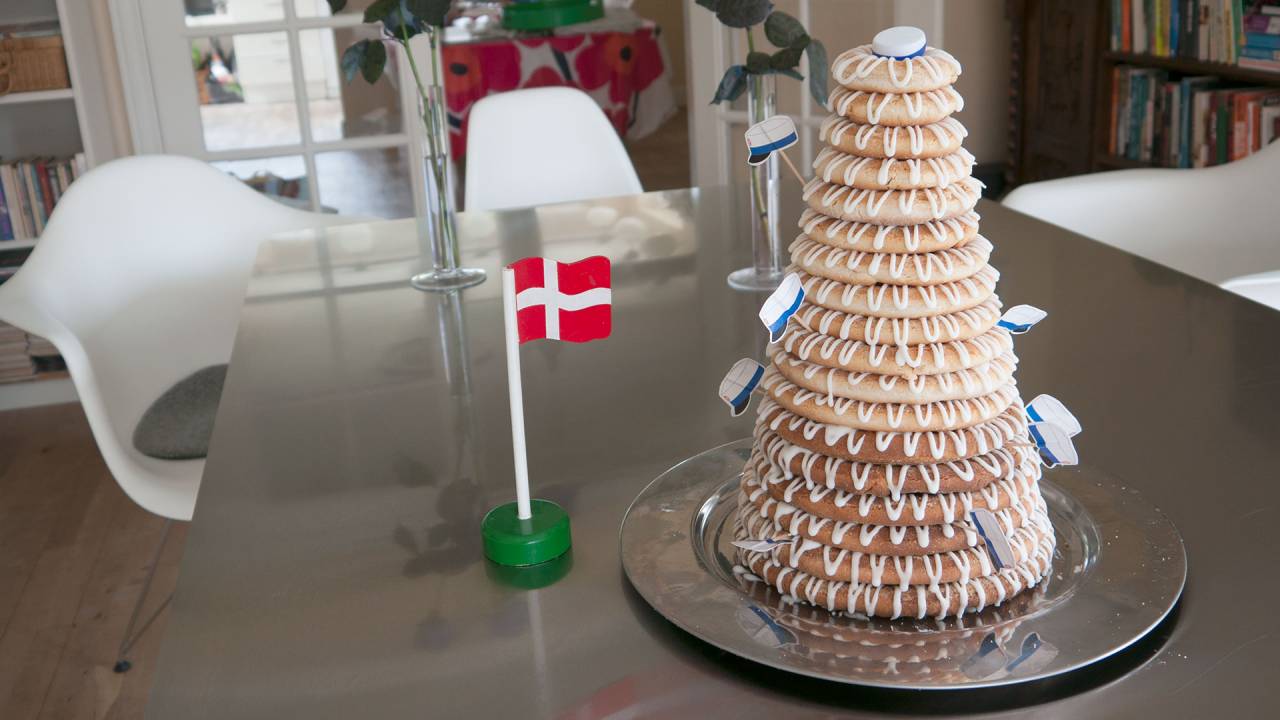
In my family this cake is usually given as a gift to the one being celebrated. But it is only for major parties.
"Odense Kranse XX" from Odense Marcipan is a good high quality marzipan to use. It is a marzipan made mostly from apricot kernels, which makes it better suited for baking. Can be purchased online from speciality stores. It is better for this cake than regular marzipan. But regular marzipan make a very good cake too.
You can also use my home made marzipan recipe. It is well suited too. Even though it will take a while to deskin enough almonds for 1 kg of marzipan.

Problem with recipe
Followed recipe using the only marzipan I could buy Edde. Dough was a bit too sticky but rolled nice. It ran over the individual ring pans I have. Can the dough I have left be made less sticky with more marzipan or what am I doing wrongI am in the United States. The first time I made this I followed the recipe exact and it oozed out of the pans and everywhere. Determined this was due to too much sugar. My Almond paste already has 16g of sugar per 39g. The marzipan he uses has 30g of sugar per 100g. I made it again omitting the sugar in the dough step completely and only mixed with the egg whites and it turned out perfectly. I sill followed all the other steps exactly.
